Hillary is one of the original founders of Great Lakes Bay Moms. She is a mom of two very energetic and inquisitive boys – who keep her on her toes. She loves spending time with the husband and two boys, baking, girls nights, shopping and traveling!
Fun and EASY Christmas OrnamentsIn my family, we have a tradition that each year my boys make an ornament for our Christmas tree as well as one for the Grandparents. Throughout the years, they have evolved from “my” project to my sons. When my oldest, Logan, was little, I would think of an ornament and put his sweet little hand print, picture or name on it. Last year, he thought of a few really great homemade ornament ideas and created them on his own. He even gave ME a list of supplies he was going to need to create it. It turned out better than I could have done! If you just allow your kids the freedom to be creative, it’s amazing what they will come up with – they mean so much more too. Here are a few ideas that we have made or I found on the Oh, so amazing Pinterest! Happy creating! |

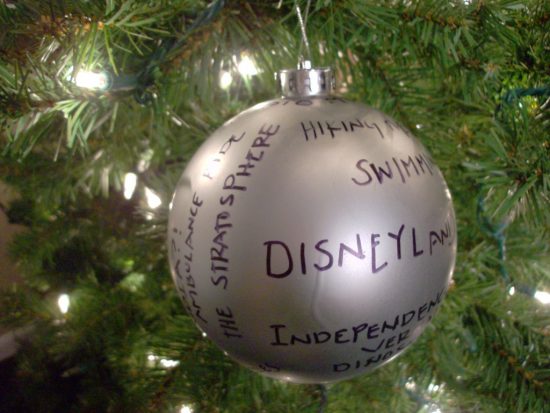
Memories of 2014Start a collection of ornaments to remember the special memories that your family shared each year. Large silver plastic ornament *Don’t forget to write the year on it! |

Salt Dough Handprints4 cups flour 2 cup salt 1.5 cup water
Directions:Knead all ingredients for 20 minutes, roll out and cut to desired shape, press hand print, bake at 300 degrees for 30 minutes. **Salt Dough Recipe Listed below |

Snowman FamilyCreate a Snowman Family! Make sure to represent each family member on the ornament! Even your little fur babies! Each member could decorate their snowman to best represent them! Frosted ornament |

Christmas Wish ListMake one every year for each one of your children. Keep them to remember what they wished for as they grew up. |

Baby’s First ChristmasEvery parent and grandparent treasures Baby’s First Christmas! What a great way to preserve how tiny your little one is during this special time of year. Clear glass ornament |

Santa!Make Santa’s iconic red suit in four easy steps! Clear glass ornament
Gently remove the top of the ornament. Cut the paper into strips, using a pencil or a pen – wind the paper around it. Then stuff the tight curled paper into the ornament. Continue until Santa’s belly is full. Replace the top. Then, using the black puffy paint create a black band around the entire bulb aka Santa’s belly. Once the puffy paint has dried paint a white or belt buckle onto the belt. Tie a ribbon on top to hang. Cute. Cute. Cute! |

Santa Hand2 cups of Flour This is to remind you: “When I have grown so tall, That once I was quite little And my hands were very small.” |
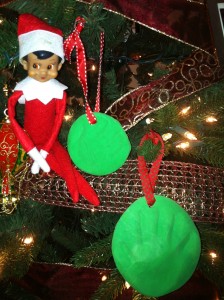
HandprintsHand-prints with Model Magic by Crayola®. This is super easy, inexpensive and has a great Awwwww…. factor! Model Magic (any craft store has it)
Let it dry for a couple of hours and voila! A perfect keepsake to remind you how small your sweet little babe was on their first, second or even their fifth Christmas. |
Salt Dough Recipe1 cup salt Directions
Store your salt dough in a air tight container and you will be able to use it for days. You can paint your creations with acrylic paints and seal with varnish or polyurethane spray. You can let your salt dough creations air dry, however salt dough can also be dried in the oven. Bake at 200 F until your creation is dry. The amount of time needed to bake your creations depends on size and thickness; thin flat ornaments may only take 45-60 minutes, thicker creations can take 2-3 hours or more. You can increase your oven temperature to 350 F, your dough will dry faster but it may also brown, which won’t matter if you are painting your entire creation (you can also cover your dough in the oven before it turns brown). There are a few options to color your salt dough:
|
Great Lakes Bay Moms has other SEASONAL – CHRISTMAS ideas!