By: Jessica Wright
Sledding and snow forts are fantastic, but sometimes Michigan gives us days that are just too cold to play in. To combat cabin fever, we’ve rounded up a recipe for homemade window clings to keep kids creating all winter long.
***Note: The amount of supplies varies depending on how many clings you intend to make or how many kids are doing this project.
Supplies:
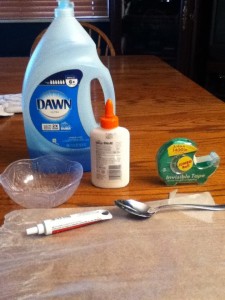
Elmer’s glue Food coloring Dish soap Plastic page protectors, Wax paper, or foil Cookie cutters (Optional) Images to trace (Optional) Glitter (Optional) Bowls (One for each color you intend to make) Squirt bottles (Highly recommended, one for each color) Brushes (If you don’t use squirt bottles)
1.) Pour a few tablespoons of glue into each bowl, one for each color you intend to make.
2.) Put about 2 drops of dish soap in each bowl of glue.
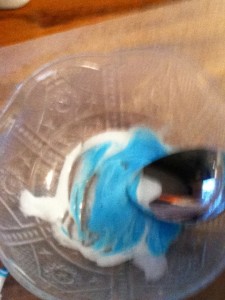
3.) Add food coloring to each dish. For this, think of the hue you want, and add dye until it is about 1-2 shades lighter than what you want in the end. They will darken as they settle and dry.
5.) If you have squirt bottles, pour the mixture into each bottle. (Note: You can also do this by mixing the dye and soap into the glue bottle itself and letting it sit for a bit. However, then you have used an entire bottle of glue.)
6.) Tape the plastic page protectors (or wax or foil) down to the work area.
7.) If you have stencils or images to trace, slide them inside the page protectors.
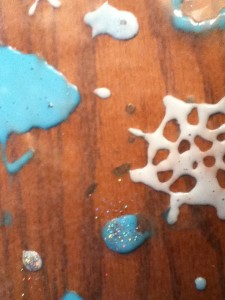
8.) Have the kids use the stencils and cookie cutters to make their window clings. Squirt bottles are the easiest, but you can also use the brushes to create pictures. They don’t need to be too thick. If you use the cookie cutters, let the glue settle a bit inside before pulling the mold away.
Note: The part that is on the page protector will be the sticky part. The other side may not stick to windows very well. This does seem to vary by case. Just remember, if you want words to be read from the outside, you may need to make the letters backwards.
9.) Add glitter to any clings you want to sparkle!
10.) Let the clings dry.
11.) Pull the clings (gently!) off the page protectors.
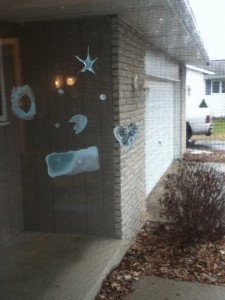
The clings can be used over and over again to make pictures or spell words on windows.
Merry Christmas and happy sticking!


